

We’ve all had it happen. Things seem to be going along so well, you’re making better time than usual when boom. Catastrophe strikes. That’s what happened with my 1/4 Sayla Mass here, as you can see. Clear coat reacted funny with the paint and I’m left with a melting face. So how do we get past this? The thought of stripping everything and starting over leaves me in despair, so let’s instead whip out the tool that’s always at my right hand, Mod Podge!
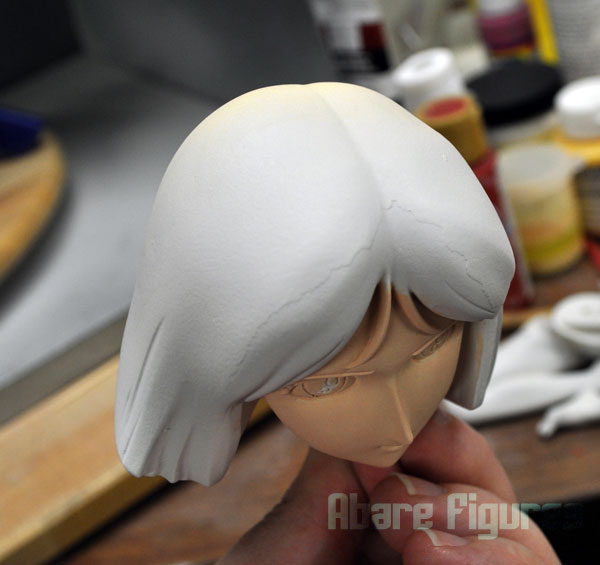
First you want to clean up any excess flaking paint or putty and re-prime, if it took off your primer. As you can see there’s still a pretty visible line where the paint is still present underneath, so we’ll have to sand that down a little to try and get a more even line to work with. Since you’re working with paint you want to use a fine sander, otherwise you’re setting yourself up for more work than necessary.

The red parts you can barely see are where I’ve sanded down the paint line. It looks pretty good already, and I could go back to paint progress now if I didn’t care about it looking a bit messy up close. But I know it’s there, and it will bother me that you can still barely see a line. So let’s wet up a brush and load up some mod podge!

You want to make sure your brush is wet but not dripping so you can lay down thin layers. Mod Podge is quite a bit thicker than your regular Matte or Gloss coats, and is perfect for things like this or filling in minor pin holes. In fact, I use almost this same technique for pin holes that show up after I prime. Using quick feathering strokes, I work the mod podge into the crack or hole and make sure the edges are feathered so you’re not making another line to clean up later. You want to take care in detailed areas like the crevices of her hair, because the Mod Podge can pool and fill in the details.

Now I’ve gotten the Mod Podge laid down and as you can see, the line has already almost disappeared. You want to try and accelerate your drying process so it doesn’t run and cause streaks or lines, so time to whip out a hair dryer!
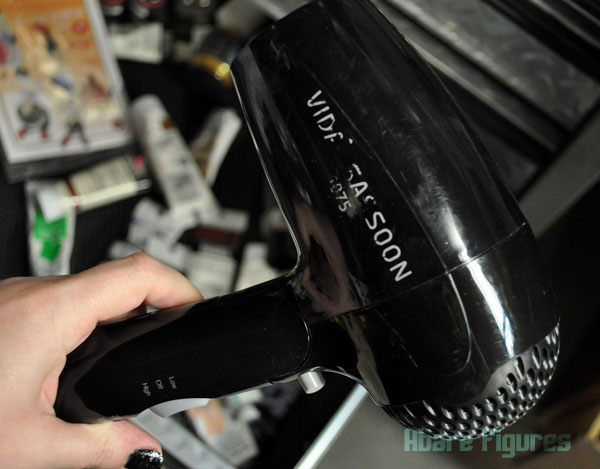
Any hair dryer with a cool setting will work, as you don’t want to heat up your pieces unless you’re planning to warp them in some way. This dryer was a cheap one from Wal-Mart that the heat coil broke on, so all it does is cool. Everything gets recycled at my place! I’ve seen some people get fancy and use a food dehydrator to dry kit pieces too, but I like to be more in control and be able to see if my paint is going to run or not.

Now the Mod Podge is dry and I’m ready to go back to painting! You can do this at any point in your painting process as long as you use a super-fine sanding tool, but since Mod Podge will change the finish of your piece I would recommend at least one coat of paint over the fix to make sure you covered everything and to even out the paint. For larger issues you might want to repeat this process a few times, but it sure beats having to putty! There you have it, Mod Podge. Buy some. You’ll keep finding uses for it.
