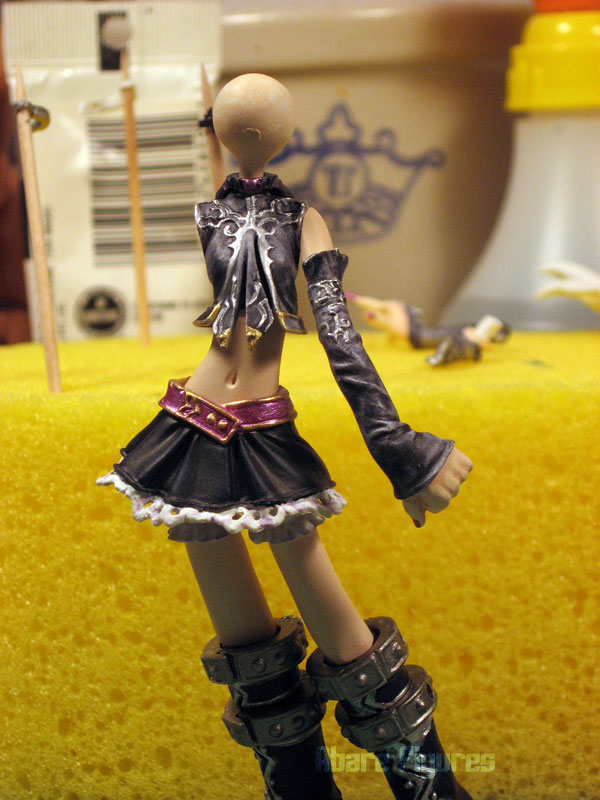
Last time I showed you some detail progress on my little Sandman/Death homage, Gisele. Today I’m going to get a little more into her “Death” persona.

Here she is sitting in the hole of my hemostat so you can get an idea of how small her face really is. My tiniest brush is getting a lot of work on this kit. Anyway, I’ve started with a slightly darker shade of her hair color for the eyebrows and basic black for the eyes. I always work with water and a clean brush handy to wipe up mistakes, because they will happen no matter how careful you are. For eyes and facial details I tend to not thin down my paint too much, as the more you touch one area for multiple coats the more likely you are to make a mistake.

I’ve drawn in the basic area I want the pupils to be and also worked more on the eye outlines now. Also given the eyelids some color, but we’ll do even more with those in the next step to really amp up her gothic makeup. You can see way up close that my line work isn’t perfect, that requires a lot of cleanup. I use water, flesh color/white, whatever I can to make things look as clean as possible. If you’ve shaded your kit and have some clear coat on (which I recommend after every step more or less) you could even carefully scrape off the offending paint with the tip of an exacto knife, but this takes a very delicate touch. Once I get the pupil guides the way I want them, I cover them over with white so the pencil shows through but will not get in the way when I start painting…

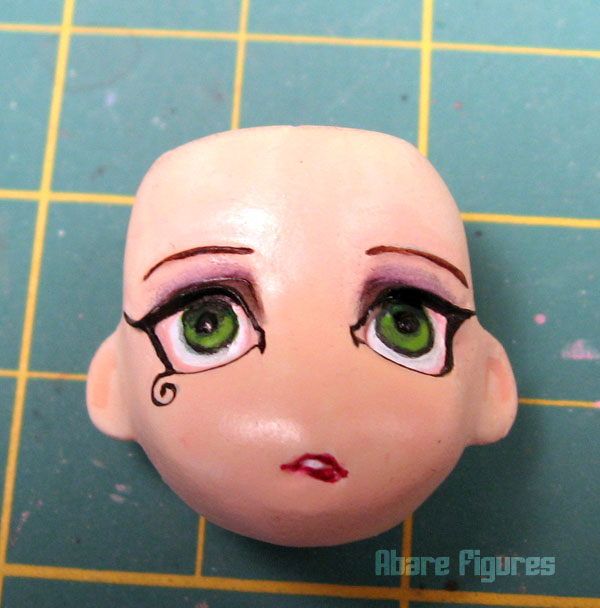
Here I’ve mostly finished the eye outline save for some cleanup and done some pastel shading for the eyelid, which I covered in my last post. For the sake of realism I also used some pink shades on the inside of her eyelid, since they’re a bit more visible on this kit than a lot of other GKs I’ve come across. If you’re familiar with Sandman you can see she’s starting to look a bit more like Death now.

Time to work on the pupils. I want a more realistic look for this piece so I’m going with a photograph, though if I’m working on an anime or manga character I’ll have a completely different reference. Even if you’ve drawn eyes a thousand times, having a reference nearby is always a good idea. Every eye is a little different.

I want as many tones of green as posible to make these eyes look more real, so I keep them all handy to do a little wet blending. Every eye I paint has at least 3 shades of the eye color in it, because it’s the little things that will set your work apart from others. Gisele looks a little nervous about how this will all turn out.
Once I get the eye color the way I want it, then comes the black pupils. This can be the hardest part, as you want to make sure the focus works in every direction. You don’t want to end up with what my friend so affectionately calls “squoppity eyes” as no matter how good your paint job is, it will be what people notice first. As you can see above, I still have a lot of work to do to make these clean.

Once you’re done shading, take a deep breath! You’re almost done! Now comes the fun part, adding a little soul to your figure with the highlights. Unless your figure is possessed, you probably want to add these in some way. Be sure to start out small with the white or lighter color you’re adding, you don’t want to end up with a mess and have to repaint your entire eye. Start with a tiny point and work out from there. Once you’re done, remember to cover your work with a clear coat to protect it! You’d hate to have a stray drop of paint undo your masterpiece.
I’ll still have a little cleanup to do on the eyes above before I seal them, but now you know my process. It seems like everyone does eyes a little differently and you’ll probably develop your own methods as you go along. Just don’t be afraid to make mistakes!
Next time I’ll be modding a plastic figure with some kit pieces to create a little friend for my Death cosplayer.
Check out part 1 of my WIP, part 3, or the final product!
