My latest project is a long and involved one. Using a base of the Pinky Gisele kit, I’m creating a little homage to the Neil Gaiman Sandman comic book series with a little Death goth girl cosplayer with a special friend inspired by some of the fantastical creatures from the land of dreams. I thought it might be a nice chance to give a view of my process on a few key details.
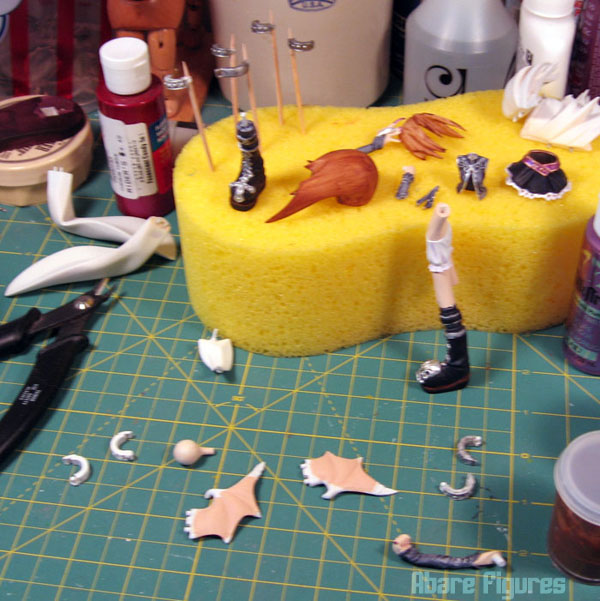
Here’s an overview of some of the parts I’m working with. As you can probably tell this is one tiny kit! It’s been coming together pretty quickly though once I figured out where all the belts and buckles should go, and what part goes with which. Each little buckle has two parts you have to hunt down and match, then hope the casting is good enough that they fit together without too much effort on your part. I’ve broken a couple hinges already, but it’s still not too bad. If this were ever a thai recast though I think someone would just break down and cry rather than finish it.

I’ve already got most of the clothing detailed and shaded, but there’s still a few things missing to really get this piece to look put together.
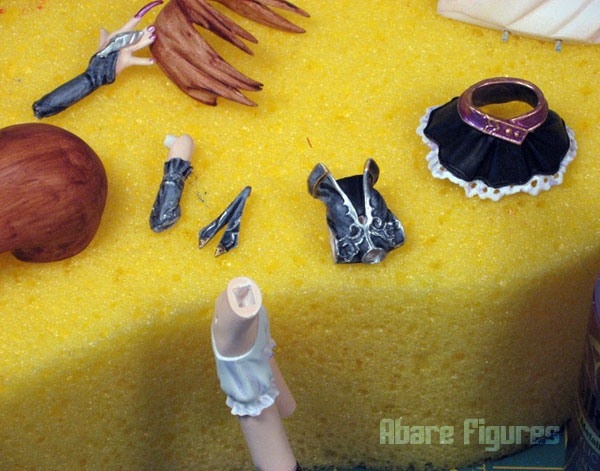

Here’s some of my essential tools on this project. The hemostats I use to hold pieces while I’m painting them, either mounted on the pins I’ll use for assembly or toothpicks for temporary workability. Angled tiny tweezers are a godsend when you’re working with kits in this scale with tiny parts, and that’s the tiniest brush I can find that I use to detail just about everything.
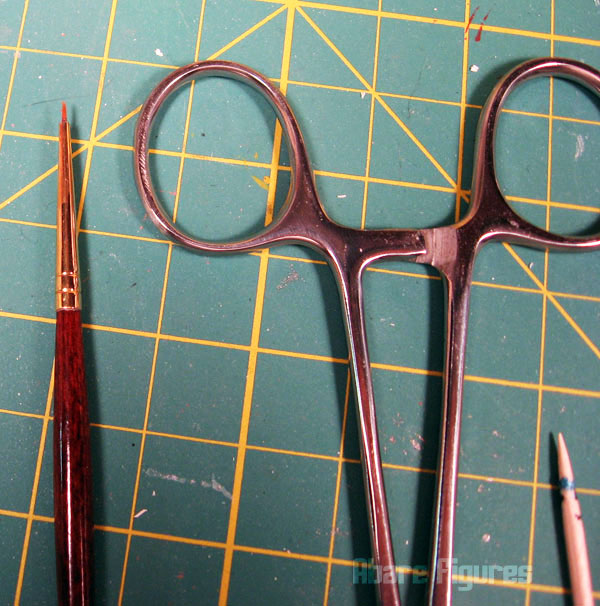
Here’s a little closeup so you can see how tiny the brush is. I have to look for one of these almost every time I go out to buy supplies because they’re so handy with small scale kits I wear them out very quickly.

Here’s some of the colors of pastels I’ll be working with to shade the wings on the figure’s little backpack, as well as the brushes I’ll use to apply the pastels.
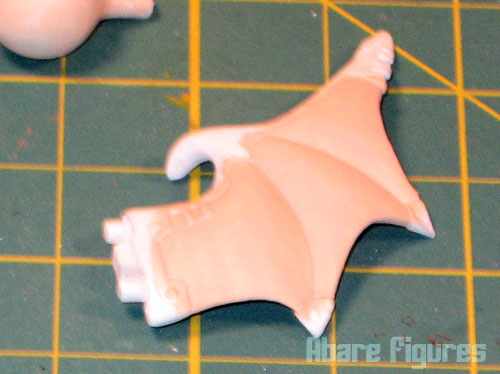
Here’s one of the wings with the base coat down. I’ll be using the pastels to give it a more membranous batwing look. Girls, if you’ve ever put on eyeshadow with a brush you can do this. Guys, it’s really not that hard. I suggest practicing on a piece before you commit to anything, as if you make a mistake it’s very easy to wash off until you seal it. Just make sure the piece is completely dry before applying pastels, as it won’t go on smoothly if you don’t. Pastels will always be darker once you seal with a clear coat, so keep that in mind.
First thing you want to do after you have your base coat of paint is seal the piece in any area you’re wanting the pastels to cover with clear coat. I use a matte spray from Games Workshop but I’ve also used the clear Matte from Krylon in the past with similar result. The Games Workshop sealer is harder to find and more expensive, but it provides a more true matte. Krylon is more satin.
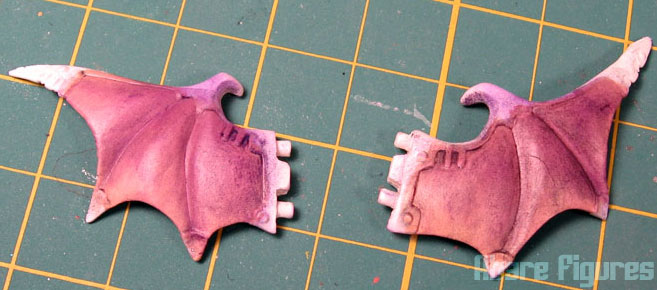
You’ll want to tap the pastel-loaded brush into any ridges and brush it out from there. The darkest part of your shading will be where you first applied the pastels, so plan accordingly if you’re using a dark color. In the photo I made the pieces a little wet in areas because I wanted a rougher, membranous look to the wings. If I were shading skin or hair I would never do this. Make sure once you’re done you finish it with another clear coat and try not to touch any of the pastel parts befrorehand, as the oil in your fingers could cause it to rub off or behave differently. Again, pastels will always dry darker once you seal them, so keep that in mind if you’re layering on color. Less is more and you can always go back for a second coat if you need to.
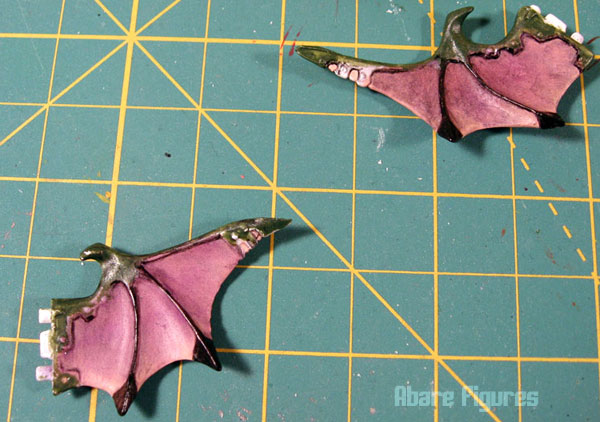
Both sides shaded and starting detail painting.
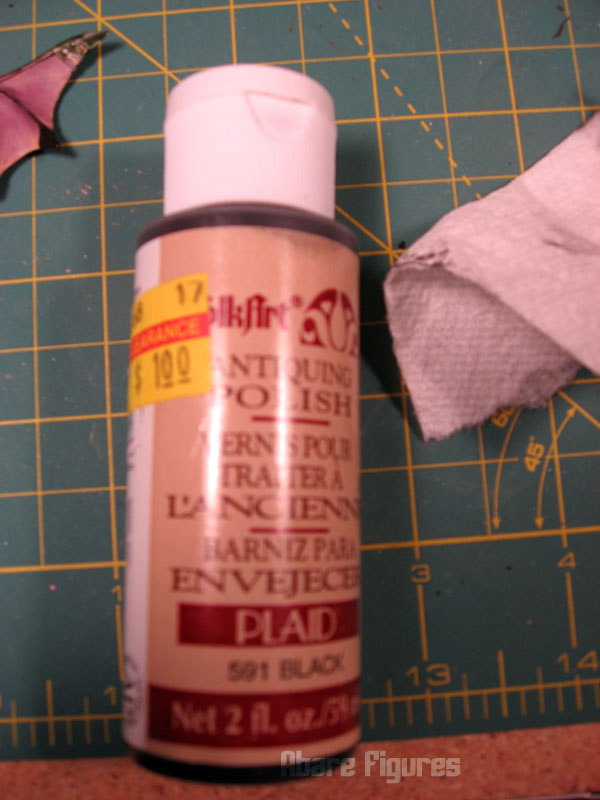
Going to do a little wash technique to bring out the details using this premixed acrylic formula. Works just as well with ink or windex-thinned acrylic paint.
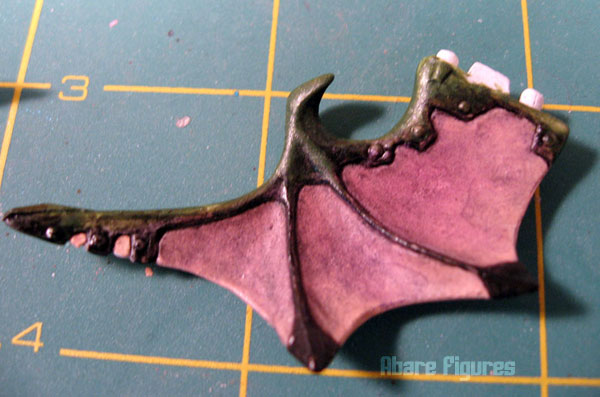
The wash gets into crevices easily and wipes off the surface if you have a clear coat on. Also works well for weathering armor, weapons, you name it. Just keep some water and qtips or towels handy, as you don’t want your paint or ink to dry while you’re reaching for something to clear it off the unwanted areas.
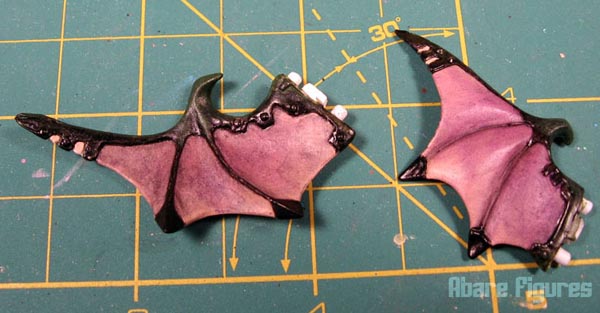
Here’s the mostly finished wings ready for final detailing and assembly.
In part 2 I’ll go over painting the eyes.
