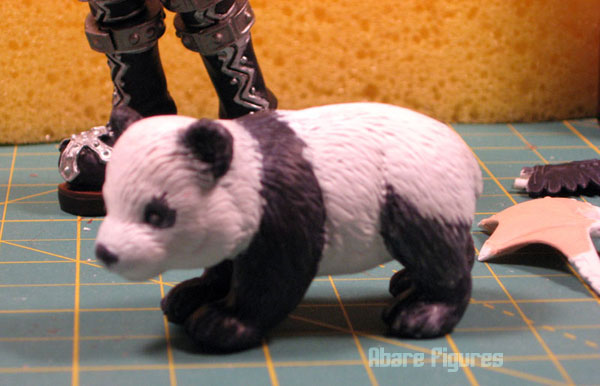
This Gisele kit has a lot of alternate parts to choose from. I decided to use the wings on her backpack as the original ones that were to be attached to her shoes, so I had an extra set. That got me thinking how the Sandman series would always have these great little creatures in the land of dreams. I went out in search for a little animal figure I could add wings to and fell in love with this baby panda vinyl toy. His original factory paint job was a bit rough and we have a bit of work to do to make him fit in, so let’s get to it!
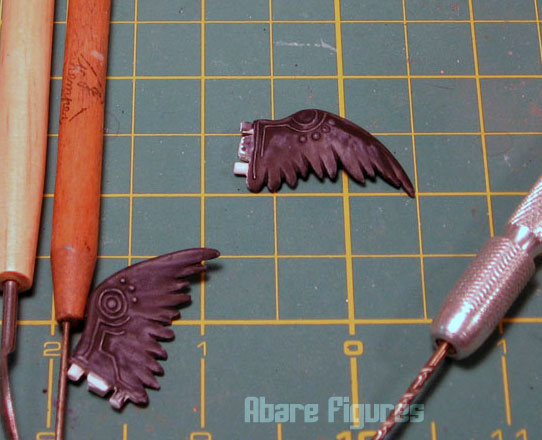
Here are the wings I’m working with. I like their little ornamentation so I won’t be changing them to be more feathery. Just have to trim off a bit to get them to work on the panda body.

Mapping out where I want the wings to go and marking some guide holes with pencil.

Giving the wings a bit of a trim but keeping the posts to attach more easily.
Guide holes drilled. I just used a hand drill you can find at most hobby stores. I use a motorized dremel for pinning figures and larger bits, but sometimes having more control over speed is the best idea.
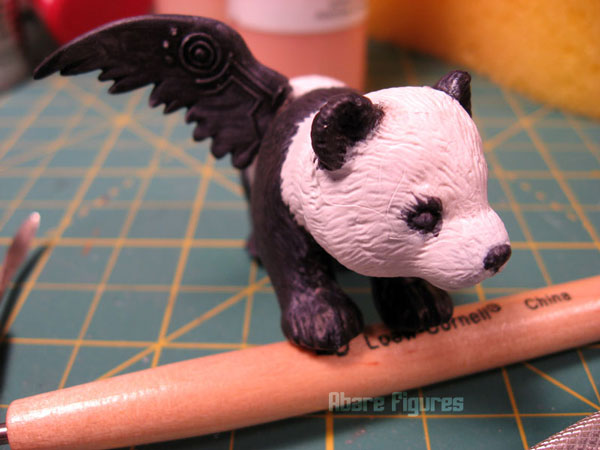
Wing test fit.. everything looks good so far! Pochi here doesn’t seem to be too enthused about the Sephiroth look, so let’s get the other one attached.

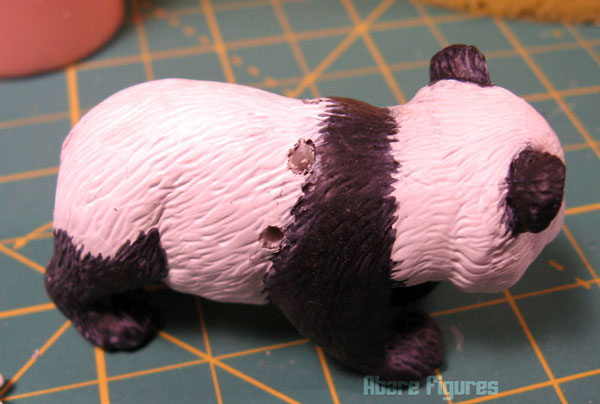
Wings attached! Still quite a gap between the wing base and the fur, so we have a bit of blending work to do…

A view from the back shows the gap a little better.
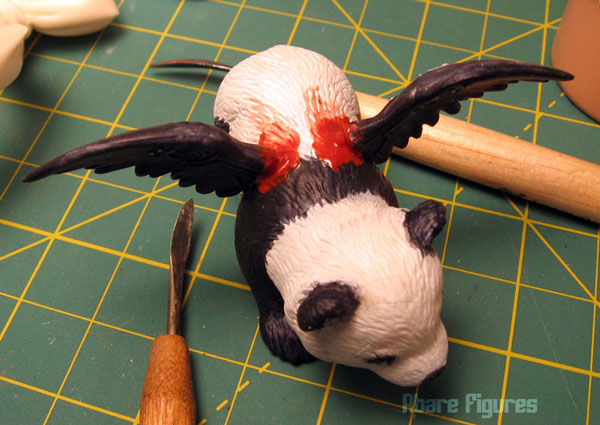
Well the red color of the Bondo putty makes this scene look a bit grisly, but we’re just building up some “fur” to fill in the gaps on the shoulder. The putty has to dry for about 12 hours, though I usually give it 24 for good measure. After that I will use the sculpting tools you may have noticed strewn about in this post to blend it with the body and give the wing base a fur texture to match the rest of the panda.
Of course since I had to wait for putty to dry, I forgot to take pictures of the rest of the process but if you have other questions I’d be happy to answer them in the comments.
Otherwise you can check out part 1 or part 2 of this wip, or scope out the final result!